Poultry farmers say that incubating eggs is fairly easy.
However, they warn all amateurs to be wary of the pitfalls of maintaining the momentum and regulating the incubator.
Now, you may have had a smooth running the first time you incubated the eggs. Nevertheless, there is no harm in being more cautious about preparing for incubation the next time hatching season arrives.
This is because there are some unnoticed problems that may be lying in wait for your attentive eyes. If you miss them, you are increasing the risks of a contaminated or failed incubation.
So farmers beware! It doesn’t matter if your incubator is fairly new or borrowed; you need to check certain things before popping the eggs in for incubation.
Here are a few things to keep in mind before you kick-start your incubation:
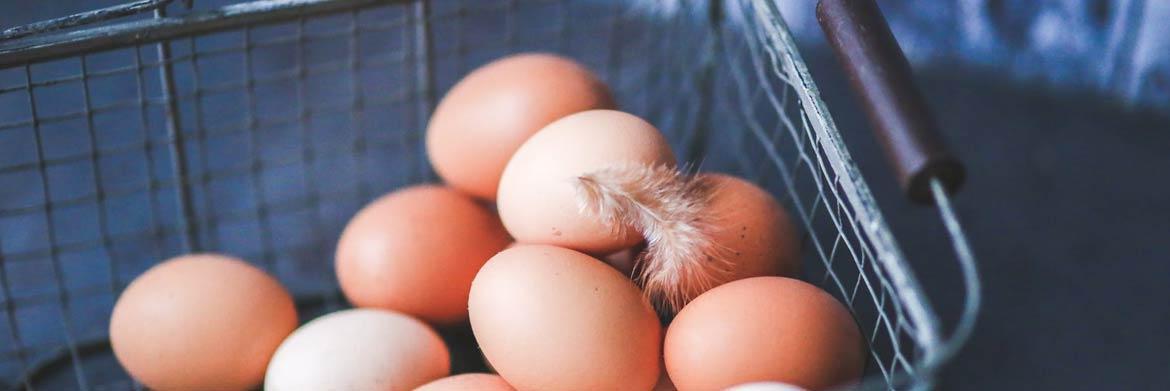
1. Be a Neat Freak!
Cleanliness is next to godliness.
As you are getting ready for the miracle of nature, it is essential that you should keep all areas clean. Your primary focus should be on the incubators because their warmth and wetness is an ideal breeding ground for unseen bacteria. Moreover, if you made the mistake of leaving some debris from last season’s hatching, then there is bound to be booming bacteria thriving in your incubators.
Therefore, thoroughly clean your incubators. You need to make sure that old shells, fluff, and dirt are not stuck in a corner. Additionally, there must not be any unpleasant odour lingering around it.
Pro tip: Disinfect the non-electrical parts of the incubator and then let them dry. Remember to not let any wet part get inside the incubator.
2. Check for Damage
Your incubator has been out of your sight, for almost a year. Who knows what kind of trouble it met in your absence. It is a common occurrence for vermin and pest to make your incubators as their own breeding grounds. This means there might be a few bitten wires or chewed cables lying in your wait.
That is why after you clean the incubator, you need to survey the electrical parts to ensure everything is in top condition. Moreover, check if all the pieces are there (like egg dividers, trays or thermometer).
3. Trial Run
Think you incubator is ready to go?
Don’t be so sure unless you have plugged it in. You see when machines lie around for a year or more without use, they tend to have functioning issues. This makes it necessary for you to check if it’s working properly before you start incubating your eggs.
Things to inspect:
- Temperature and humidity
- The turning cycle
- Fans
- Heating lamps
In a nutshell, these precautionary measures are necessary for a steady hatching season. Or else you will be left with a dozen eggs that can’t be hatched or eaten. We know that is an outcome you can’t afford!
Need some help?
Little Fields Farm can assist you in all your poultry needs. The online store has high-quality egg incubators and other incubation equipment that can be delivered right at your doorstep.